
Chemical anchoring is mostly associated, in most guides, with concrete and brick. As soon as it comes to fixing a heavy element onto solid wood, a metal structure, or natural stone, field feedback diverges on the resins to prioritize, the curing times, and the preparation of the substrate. Each of these three materials imposes specific physical and chemical constraints that manufacturers’ instructions rarely detail.
Regulatory constraints and recent formulations of anchoring resins
Chemical anchoring resins are classified among specialty chemicals, a segment subject to increasing regulatory pressure. Market reports published in 2025 confirm the tightening of requirements related to VOC emissions, the toxicity of hardeners, and REACH compliance.
This evolution pushes manufacturers towards low-emission formulations and styrene-free systems. For the user, this means that the cartridges available in retail stores are no longer the same as they were a few years ago: some vinylester or epoxy bases have been reformulated, which sometimes changes the curing times and compatibility with certain porous substrates.
Before choosing a resin, reading the safety data sheet remains the only reliable way to check if the product is suitable for indoor use, for a food-contact substrate, or for a humid environment. Competing guides overlook this point, while the regulations on chemical anchoring wood metal and natural stone directly condition the choice of product on site.
Chemical anchoring on wood: adapting the resin to a living material
Wood presents a problem that neither concrete nor brick does: it moves. Humidity variations cause the fibers to swell and shrink, subjecting the resin joint to repeated micro-mechanical stresses. A resin that is too rigid eventually detaches from the wood after a few seasonal cycles.
Choosing the resin and preparing the hole
Styrene-free polyester and vinylester resins offer residual flexibility after curing that better absorbs these movements. Pure epoxy resins, which are very rigid, are suitable for stabilized laminated wood but pose a risk on solid wood exposed to the elements.
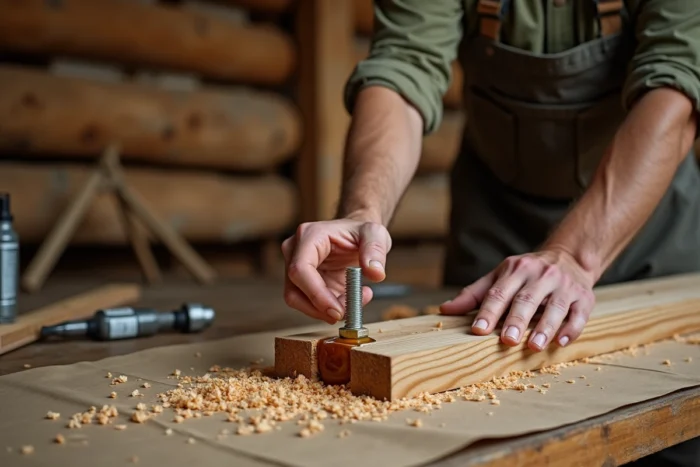
The preparation of the hole is crucial. The drilling must be clean, without torn fibers that would prevent direct contact between the resin and the wall of the hole. A well-sharpened wood drill bit, slightly larger in diameter than the threaded rod, produces a clean hole. Dust removal is done with a blow gun or brush, never with water (which would cause the wood to swell even before injection).
- Drill perpendicular to the grain of the wood to maximize the contact area of the resin with the transverse fibers
- Do not use an injection sieve: solid wood itself ensures the confinement of the resin in the hole
- Respect a longer curing time than on concrete, as the porosity of the wood slows down the load-bearing capacity
Chemical fixation on metal: the trap of the smooth surface
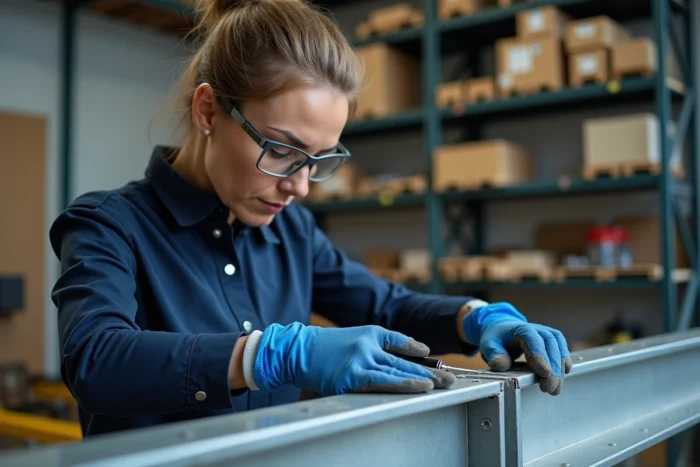
Metal, unlike wood, has no porosity. The resin does not penetrate the substrate; it only adheres to the surface. This mode of fixation requires rigorous preparation that many installers neglect.
Degreasing and roughness: two non-negotiable steps
Any trace of grease, cutting oil, or scale prevents chemical adhesion. Cleaning with acetone or isopropyl alcohol systematically precedes injection. On raw steel, light sanding with medium-grit sandpaper creates a micro-roughness that increases the contact area.
On aluminum or galvanized steel, the oxide or zinc layer can form a barrier. Epoxy resins offer better results here than vinylester, thanks to stronger chemical adhesion on metal oxides.
Drilling into metal generates heat. A hole drilled too quickly, without lubrication, leaves burrs and a flaked wall that compromise adhesion. Always deburr the hole before injection significantly improves the final hold.
Natural stone and chemical anchoring: managing variable porosity
Natural stone covers very different realities. Polished granite has nothing in common with soft limestone or porous sandstone, neither in terms of resin absorption nor in terms of pull-out resistance.
Hard stone vs soft stone: two distinct approaches
On granite, basalt, or marble, porosity is low. The resin behaves almost like on solid concrete: direct injection into the hole, with a sieve if the drilling diameter exceeds that of the threaded rod. A diamond or tungsten carbide drill bit is preferable to a percussion drill, which risks cracking the stone.
On limestone, tuff, or sandstone, high porosity absorbs part of the resin before it polymerizes around the rod. The result: a partially hollow anchor, with pull-out resistance much lower than the values announced by the manufacturer.
- On porous stone, lightly moistening the wall of the hole before injection limits excessive resin absorption (except for polyester resins, which are incompatible with moisture)
- Increase the drill bit diameter by one or two millimeters compared to concrete recommendations to compensate for the volume of absorbed resin
- Use an injection sieve on friable soft stones to confine the resin and prevent it from migrating into the natural veins of the material
- Prefer styrene-free vinylester resins on limestone, as their chemical composition reacts poorly with certain acid hardeners
The case of stone masonry in renovation
In the restoration of old buildings, chemical anchoring avoids the expansion stresses that crack stones weakened by time. Mechanical expansion anchors should be avoided on this type of substrate. However, the available data does not allow for conclusions about the long-term durability of current resins on centuries-old stones exposed to rising damp.
The choice of resin, drilling diameter, and hole preparation method varies so much depending on the material that the load tables provided by manufacturers, calibrated for concrete C20/25, do not apply directly. Testing on a non-visible area remains the most reliable precaution before any permanent fixation on wood, metal, or natural stone.